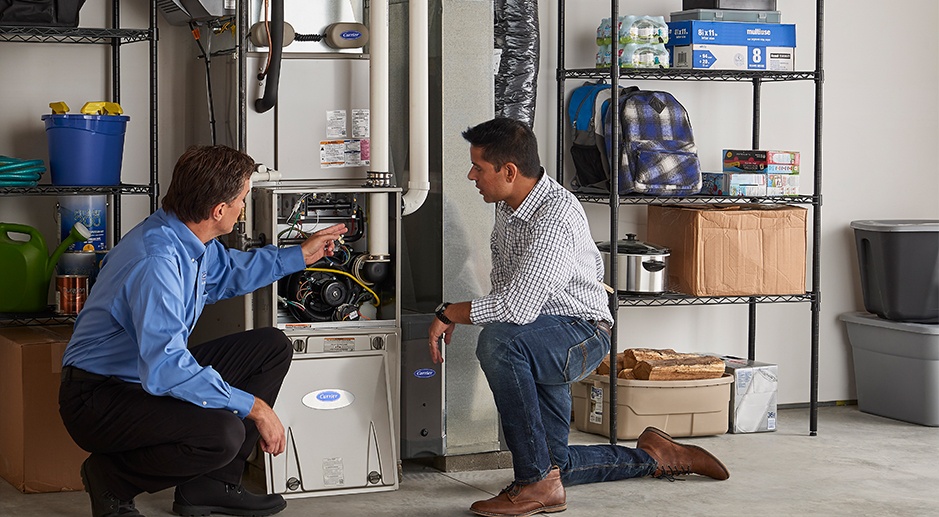
Installing a furnace is a significant investment in your home’s comfort and efficiency. Whether you’re replacing an old unit or installing a new one, understanding the process, types of furnaces, and installation considerations is crucial. This guide will walk you through everything you need to know about furnace installation, from preparation to final touches.
Understanding Furnaces
Types of Furnaces
Before diving into the installation process, it’s essential to understand the different types of furnaces available:
- Gas Furnaces: These are the most common type of residential furnace, using natural gas or propane as fuel. They are known for their efficiency and lower operating costs.
- Electric Furnaces: These furnaces use electric coils to generate heat. While they can be less expensive to install, they may have higher operating costs, especially in areas with high electricity rates.
- Oil Furnaces: Although less common, oil furnaces are still used in some regions. They burn oil to produce heat and are typically used in areas where natural gas is not available.
- Heat Pumps: While technically different from traditional furnaces, heat pumps can provide heating and cooling. They are an efficient option for moderate climates.
Preparing for Installation
1. Assess Your Heating Needs
Before installation, consider the size of your home, the number of rooms, and your heating requirements. A professional HVAC technician can conduct a heat load calculation to determine the appropriate furnace size, ensuring optimal efficiency and comfort.
2. Choose the Right Furnace
Based on your heating needs and budget, choose a furnace that fits. Look for units with high AFUE (Annual Fuel Utilization Efficiency) ratings, which indicate better energy efficiency. Consult with professionals to explore brands and models that suit your preferences.
3. Check Local Codes and Regulations
Before installing a furnace, familiarize yourself with local building codes and regulations. Ensure that the installation complies with safety standards and manufacturer guidelines. Obtaining necessary permits may also be required.
4. Gather Tools and Materials
If you’re opting for a DIY installation, gather the necessary tools, which may include:
- Screwdrivers
- Wrenches
- Pipe wrenches
- Level
- Tape measure
- Duct tape
- Safety goggles and gloves
5. Consider Professional Installation
While some homeowners may feel confident in their ability to install a furnace, hiring a professional is often the best choice. An experienced HVAC technician ensures that the installation is performed correctly, efficiently, and safely.
The Furnace Installation Process
1. Remove the Old Furnace (If Applicable)
If you’re replacing an existing furnace, the first step is to remove the old unit. Turn off all power and gas supply to the furnace, and disconnect any venting and ductwork. Safely dispose of the old furnace according to local regulations.
2. Prepare the Installation Area
Ensure the installation area is clear and accessible. Check that the space is adequately ventilated and free of obstructions. If necessary, modify the existing ductwork to accommodate the new furnace.
3. Position the New Furnace
Carefully place the new furnace in the designated area, ensuring it is level and securely positioned. Follow manufacturer guidelines for clearance requirements around the unit.
4. Connect the Ductwork
Attach the ductwork to the furnace, ensuring that all connections are secure and properly sealed. Use duct tape or metal screws to fasten joints, minimizing the risk of air leaks. If you’re installing a gas furnace, ensure that the supply line is connected properly.
5. Install the Venting System
For gas and oil furnaces, install the venting system to safely expel combustion gases. Follow local building codes and manufacturer instructions regarding vent pipe materials and installation techniques. Ensure there’s proper clearance from any combustible materials.
6. Make Electrical Connections
Connect the furnace to the electrical supply, ensuring all connections are secure. If you’re not experienced with electrical work, it’s advisable to hire a professional electrician to handle this step.
7. Configure the Thermostat
Install or upgrade the thermostat to ensure accurate temperature control. Follow manufacturer instructions for wiring and programming, and consider smart thermostats for added convenience and energy savings.
8. Test the System
After all connections are made, turn on the furnace and test its operation. Check for any unusual noises, vibrations, or malfunctions. Ensure that the thermostat accurately controls the temperature and that airflow is even throughout the home.
Final Steps and Maintenance
1. Register Your Warranty
Don’t forget to register your furnace’s warranty with the manufacturer. This step ensures you receive coverage for any potential issues down the line.
2. Schedule Regular Maintenance
To keep your furnace running efficiently, schedule regular maintenance checks. This includes cleaning, inspecting, and tuning up the system at least once a year, ideally before the heating season begins.
3. Monitor Performance
Keep an eye on your furnace’s performance, and be alert to any changes in heating efficiency or unusual sounds. Addressing issues early can prevent more significant problems and costly repairs.
Conclusion
Installing a furnace is a critical step in ensuring your home stays warm and comfortable during colder months. Whether you choose to tackle the installation yourself or hire a professional, understanding the process, types of furnaces, and necessary preparations will help you make informed decisions. With the right furnace and regular maintenance, you can enjoy efficient heating and peace of mind for years to come. Embrace the warmth, and stay cozy!


